

Resin Mold Making Mistakes and How to Avoid Them: A Practical Guide for Better Results
Resin mold making can be both exciting and frustrating, especially when you are new to it. A mistake with the mold material, model, mold box or even where you intend to work can turn a simple project into an expensive failure.
Over the years I have made plenty of molds and plenty of mistakes. Levelling has caught me out more than once, and I still occasionally find a mold-box joint that I thought I had sealed properly deciding to leak.
Most of my professional resin experience has been with two-part systems. Today, however, many beginners start with UV resin and small silicone molds, particularly for jewellery, decorative pieces and other craft projects.
That distinction matters because the resin you intend to cast can affect the mold you need.
This isn’t intended to be a complete guide to resin mold making. Instead, we’re going to look at five common resin mold making mistakes, why they cause problems and, most importantly, how to avoid them.
Table of Contents
Mistake #1: Choosing Your Resin Without Considering Where You Will Work
This may seem an unusual place to start an article about resin mold making mistakes, but your workspace should influence the materials you choose before you make the mold or cast the finished resin piece.
There is a considerable difference between working in a properly equipped workshop and making small resin projects at a kitchen table, in a spare room or at a modelling station inside your home.
Just because a resin is available to buy doesn’t mean I would recommend it to a beginner for use inside the house.
UV Resin
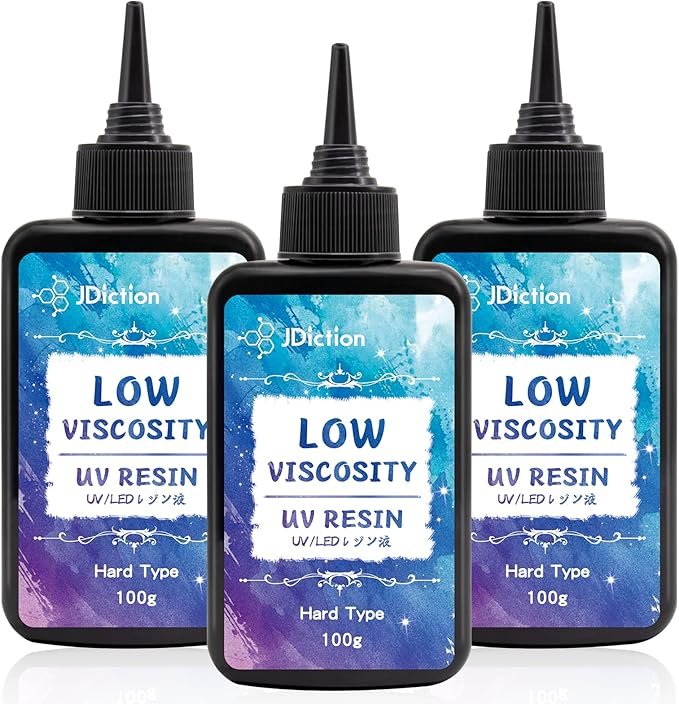
UV resin is often where beginners first encounter resin mold making and casting today.
It is normally supplied ready to use rather than requiring two components to be measured and mixed. Small projects can also use relatively small quantities.
You still need to follow the manufacturer’s safety instructions, use the appropriate protective equipment and consider the UV curing equipment itself.
But for someone learning with small resin mold making projects, UV resin can provide a much more approachable introduction than moving immediately into professional casting systems.
Two-Part Epoxy
There are many different two-part epoxy products, including products intended for resin mold making crafts and hobby applications.
If you’re working at home, choose a product specifically suitable for the type of project and working environment you have.
Read the manufacturer’s instructions and Safety Data Sheet before buying it, not after you’ve made the mold.
Polyester Resin
I would not recommend polyester resin as a beginner’s starting point, particularly if you are working in a kitchen, spare room or other normal living area.
If your project genuinely requires polyester, learn about the product and its safety and ventilation requirements first and use an appropriate working area.
Polyurethane Resin
I would not recommend polyurethane casting resin as a beginner’s starting point for working inside the home either.
Polyurethane formulations vary considerably. Some casting products are specifically intended for industrial or professional use and are explicitly labelled as unsuitable for home use.
Polyurethane is an extremely useful family of materials, and I have used two-part systems extensively, but that doesn’t make them the right place for everybody to start when it comes to resin mold making.
How to Avoid This Mistake
Decide where you will work before deciding what resin and rubber you will use for your resin mold making project.
Ask yourself:
- Is this product actually suitable for my working area?
- What ventilation does the manufacturer require?
- What protective equipment is required?
- Can I safely leave the project undisturbed while it cures?
- Do I have somewhere suitable for storing the materials?
- Will my curing method work in this space?
Then choose or begin your resin mold making method for the resin you have decided is appropriate.
If you want a fuller explanation of the different resin systems, see our separate guide:
[Internal link: Types of Resin]
Mistake #2: Choosing the Wrong Resin Mold Making Material
A mold suitable for one casting material isn’t automatically suitable for another.
This is particularly important when people start experimenting with molds they already own or have bought.
A plastic mold sold for soap, chocolate or another craft may look perfect for a resin project, but that doesn’t necessarily mean the material was designed for it.
I learned this one myself.
I once used a store-bought plastic mold that I had intended to use for soap. During a resin casting the mold warped, and I lost both the mold and the casting.
That was an inexpensive but useful lesson.
How to Avoid This Mistake
Check what the mold is made from and whether it is suitable for the resin you intend to use.
If you’re making your own mold, good-quality silicone rubber is one of the most versatile choices for resin casting because it can reproduce excellent detail while remaining flexible enough to make demolding relatively easy.
For much of my own resin mold making, I prefer a good-quality two-part silicone. Where budget allows, I often choose a high-temperature, food-grade silicone because it gives me greater flexibility over what that mold may be used for later.
But don’t choose silicone purely because the label says “resin mold making.”
When Resin Mold Making Consider:
- Compatibility with the intended resin
- Shore hardness
- Flexibility
- Tear strength
- Expected curing temperature
- Shape and undercuts of the model
- Number of castings you expect to make
The correct mold rubber depends upon the job.
[Internal link: All Types of Rubber for Mold Making]
Mistake #3: Not Levelling and Supporting the Mold
This is one of the simplest mistakes on the list and one I have made more times than I care to remember.
If your mold or mold base isn’t level, the liquid inside it won’t be.
That can leave you with:
- Unequal thickness
- An uneven back
- Resin overflowing one side
- An underfilled area on the other
- A considerable amount of unnecessary cleanup
A flexible silicone mold can also distort if it isn’t adequately supported.
How to Avoid This Mistake
Before filling the mold, check it with a spirit level in both directions.
Don’t trust the bench or table simply because it looks level.
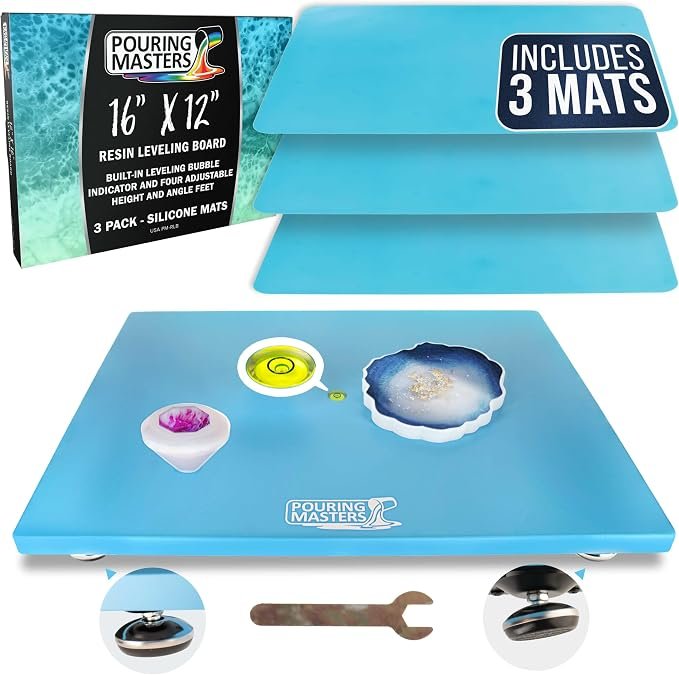
Buy or build a leveling base like the one pictured here, I think this is a very important piece for most craft applications, you still need a mini spirit level.
As an Amazon Associate, I earn from qualifying purchases.
This post contains affiliate links. If you buy through them, I may earn a commission at no extra cost to you.
If necessary, shim beneath the supporting surface until the mold is correct.
For flexible molds, a suitably sized rigid board, sheet of glass or similar flat surface underneath can provide support and make the mold easier to move without distorting it.
This is particularly useful with UV resin.
If the filled mold needs to be moved to a UV lamp, put it on the rigid support before filling it. You can then move the mold and support together rather than trying to pick up a flexible mold full of liquid.
Some UV lamps sit over the mold while others use a slide-in shelf, and some arrangements allow curing from both sides. Whichever type you use, when resin mold making, make sure the mold remains level throughout the process.
Do the levelling before you pour. Trying to correct it afterwards usually creates another problem.
Mistake #4: Not Thinking About How the Casting Will Come Out
It’s very easy to concentrate on the resin mold making and on getting resin into a mold without giving enough thought to how the finished casting will come back out.
Undercuts aren’t necessarily a problem with silicone. Its flexibility is one of the reasons silicone makes such useful molds.
But flexibility has limits.
Deep undercuts, narrow sections, delicate projections or badly positioned split lines can make a casting unnecessarily difficult to remove and can damage either the casting or the mold.
How to Avoid This Mistake
Before making the mold, look at the model from every direction and ask:
“How am I going to get the finished piece out?”
You may need:
- A simple open mold
- A flexible one-piece mold
- A dropout mold
- A split mold
- A multi-part mold
- A flexible mold with external support
- A softer, lower Shore hardness silicone
You don’t need to learn every mold-making technique before making your first resin mold.
In fact, I would recommend the opposite.
Start with a simple model with straightforward geometry. Learn how the silicone behaves, how much it flexes and how the casting releases.
Then move on to more complicated shapes.
For detailed instructions on making the mold itself, see:
[Internal link: How to Make a Silicone Mold]
Mistake #5: Poor Preparation, Sealing or Release Decisions
Many resin mold making failures aren’t caused by anything complicated.
Something wasn’t cleaned.
A joint wasn’t sealed.
The mold box moved.
The model wasn’t secured.
Or a release agent was used when it wasn’t needed, or wasn’t used when it was.
I’ve certainly had my share of leaking mold boxes. Even now, I keep modelling clay close by when pouring silicone because a joint that looked perfectly sealed can occasionally decide otherwise.
If You Are Making the Silicone Mold
Make sure the mold box is:
- Stable
- Level
- Properly attached to its base
- Sealed at every joint
- Large enough to provide adequate silicone around the model
- Not so oversized that you waste expensive silicone
Secure the model properly as well. You don’t want it moving or floating after you’ve started pouring silicone.
If You Are Using the Finished Mold
Don’t assume every resin and silicone combination needs exactly the same release treatment.
Some combinations release extremely well without additional release agent. Other materials or circumstances may require one.
Release agents can also affect the surface finish, which matters particularly when producing glossy resin pieces.
How to Avoid This Mistake
Check the recommendations for the particular mold and casting material.
If you’re uncertain, make a small test.
A tiny test casting costs very little compared with damaging an important mold or discovering a compatibility problem after filling the whole thing.
Don’t use release agent automatically simply because somebody on the internet says resin needs it.
Equally, don’t assume that because one material released perfectly from your mold, everything else will.
A Quick Check Before You Start
Before starting your first resin mold making project or filling a mold, I would run through these questions:
- Is the resin suitable for where I intend to work?
- Is my mold material compatible with that resin?
- Is the mold flexible enough to release the finished casting?
- Have I considered the undercuts?
- Is the mold properly supported?
- Is it level in both directions?
- If I’m making the mold, is the mold box completely sealed?
- Is the rubber the right Shore hardness for the project?
- Is the model properly secured?
- Do I actually need a release agent?
- If I’m using UV resin, can I move or position the mold beneath the lamp without disturbing it?
- Have I read the manufacturer’s instructions and SDS for the materials I’m using?
Five minutes spent checking these things can prevent an expensive mistake.
Where to Buy This Silicone
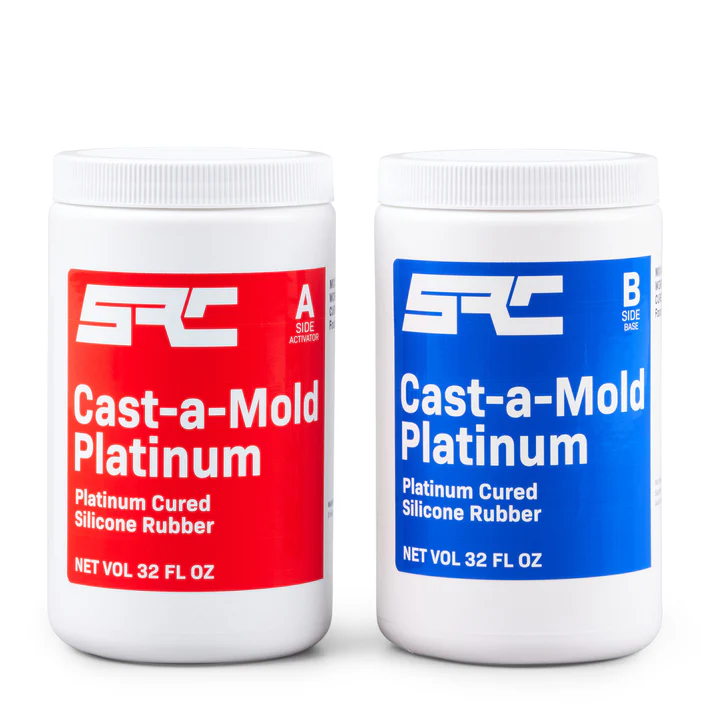
This 64oz Cast-a-Mold Platinum Silicone kit (2 × 32oz) is available from both Amazon and the official supplier, SRC (part of Polytek). Both are trusted sources, but there are a few important differences worth noting.
You can purchase it on Amazon for convenience, especially if you already shop there regularly or have Prime.
However, for specialty materials like this, Amazon orders are often fulfilled by third-party sellers (not directly from Amazon warehouses)—which means delivery times and storage conditions can vary slightly. It’s something to be aware of, especially with shelf-sensitive materials.
Alternatively, buying direct from SRC offers much better value—currently $64.07 after their 11% discount. If you’re combining your order with other materials (like resins or additional silicone kits), you may also qualify for free shipping on orders over $200. They carry a wide range of materials like epoxy resins, casting rubbers, and mold-making tools.
| Vendor | Link | Best For |
|---|---|---|
| Amazon | Buy on Amazon | Fast shipping, Prime convenience, casual use |
| SRC / Polytek | Speciality Resin | Lower price, pro-grade options, bulk buying |
I’m affiliated with both sources, so whichever one you choose helps support this content—thank you!
Author’s Note:
I’ve previously ordered full 55-gallon kits directly from Polytek via ground shipping and always received fresh stock, packed well. For shelf-sensitive materials like platinum-cure silicone, I trust direct shipping from SRC more than third-party fulfillment—especially when working on larger or time-critical projects.
4. Real-Life Lessons from My Resin Mold Making Projects
Case 1: Mold Melted Mid-Pour
I once used a store-bought plastic mold meant for soap. The resin overheated, as I believe I wasn’t accurate with my quantities and the mold warped during the cure, ruining both the mold and the cast.
Lesson: Always verify the mold’s heat resistance. Extreme care with quanitities. Epoxy may cure cooler than polyester or urethane, but it still generates heat.
Case 2: Sticky Surface on a Jewelry Mold
After pouring a batch of resin pendants, the surface remained sticky in certain areas. Turns out I hadn’t scraped the bottom of the mixing cup well enough, even though I thought I had, because when I went back to pop out the resin from the mixing container, I still found soft spots.
Lesson: Follow the mix ratio to the letter, and always scrape sides and bottoms. Don’t use containers with ridges in the bottom. That small leftover layer can ruin a whole piece.
Two Simple Tools I Use for More Accurate Rubber And Resin Mixing
Two simple items I use regularly are good mixing pots and accurate digital scales. I do shop around for mixing pots, but I always look for ones with a level bottom and slightly rounded corners. This makes it much easier to scrape the sides and bottom properly without leaving unmixed resin or hardener or 2-part rubbers trapped in the corners.
Digital scales can make a big difference when weighing two-part products accurately. I particularly like dual-platform scales because I can weigh two different components at the same time.
One thing I have learned is not to assume that both platforms will always give exactly the same reading. With my latest set, and with other makes I have used, I have occasionally needed to check and calibrate the two platforms against each other.
I keep some loose change in the workshop for this. I weigh the same coin or combination of coins on both platforms, then repeat the test with two or three different items. If the difference remains consistent, I can calibrate the scales so both platforms give me the same reading.
They are simple tools, but accurate weighing and a mixing pot that you can scrape properly can prevent an expensive batch of resin or rubberfrom being wasted.
[Amazon link – mixing pots]
[Amazon link – dual-platform digital scales]
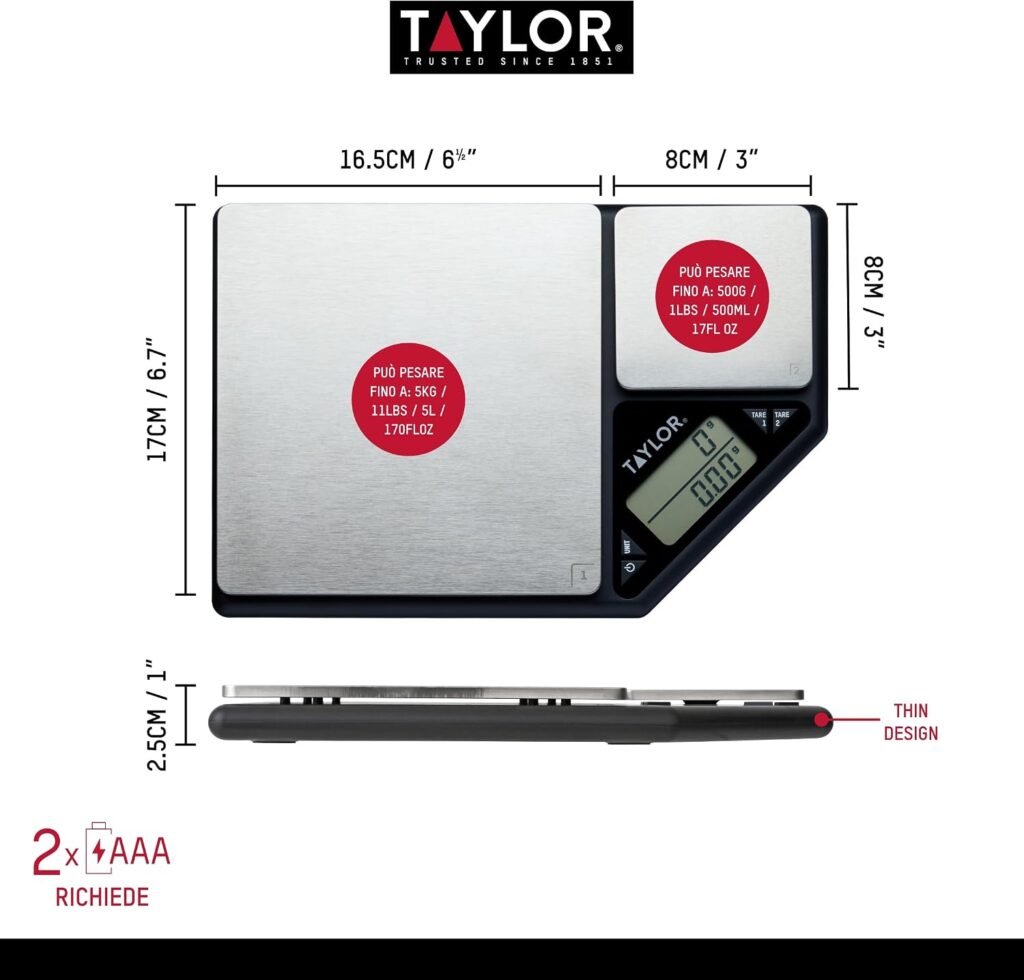
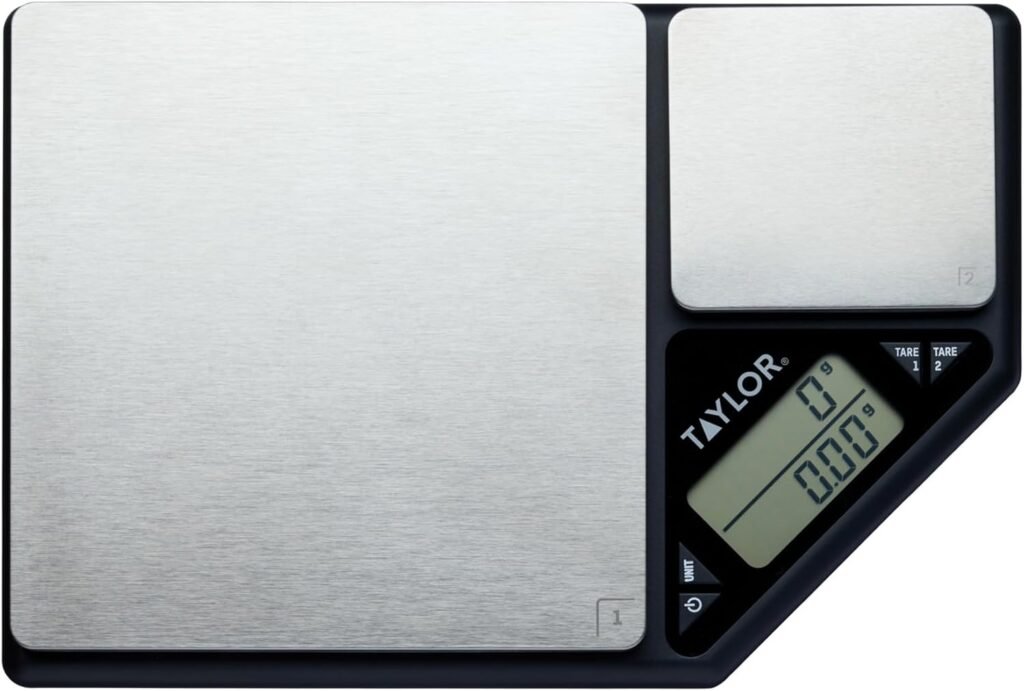
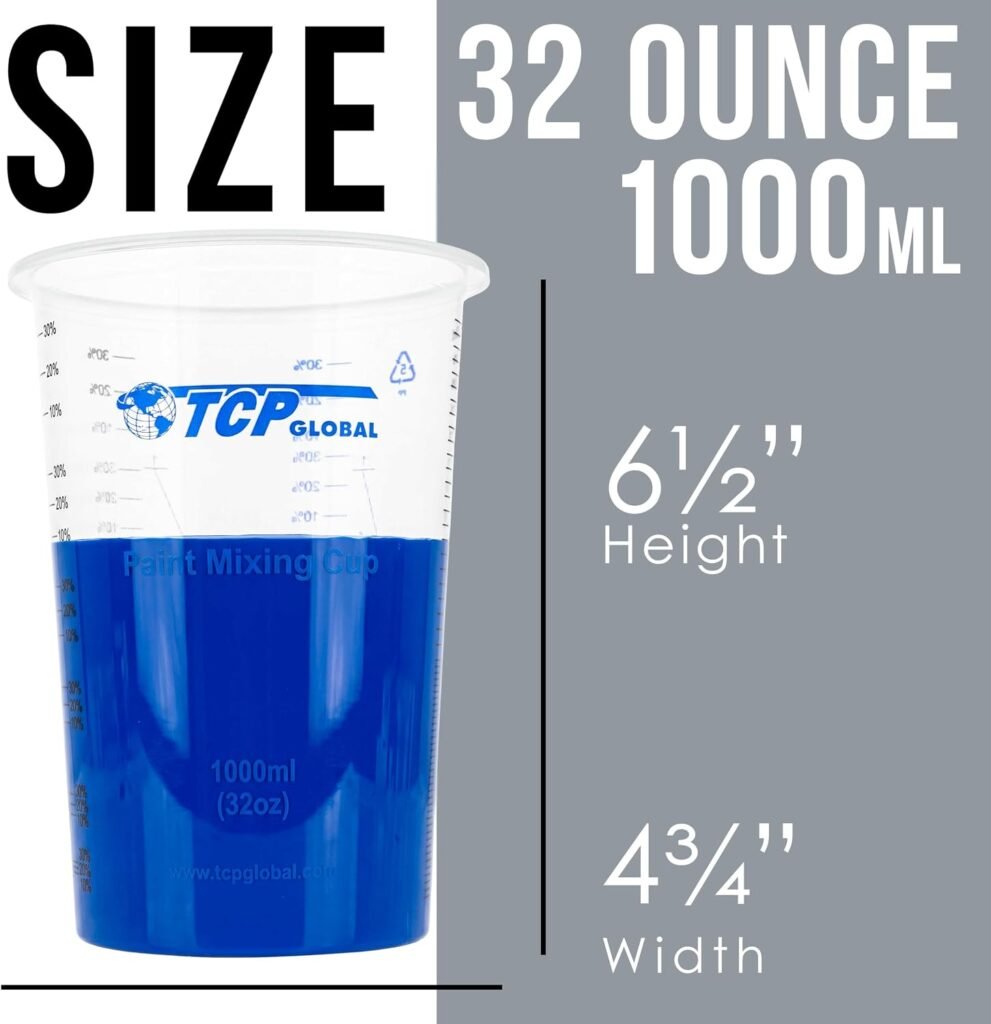
Both This Type of Mixing tubs and The Digital Dual Platform Weighing Scale Solved a lot of Problems when it came to my resin mold making.
A Final Word About Safety When Resin Mold Making
You don’t need to be frightened of resin, but you do need to respect the particular product you’re using.
There isn’t one set of safety instructions that applies equally to every resin.
Read the manufacturer’s label, technical information and Safety Data Sheet. Follow its requirements for ventilation, gloves, eye protection, respiratory protection where specified, storage and disposal.
And particularly if you’re a beginner working inside your home, don’t assume that every resin available online is suitable for use at the kitchen table.
Choose the project, working area, resin and mold as one complete process.
For more detailed information on working safely with resin mold making and casting materials, see our guide to [Mold Making and Resin Safety]
6. Final Thoughts
Most resin mold making mistakes are easier and cheaper to avoid than they are to repair.
The five I would particularly watch for are:
- Choosing materials without considering your workspace.
- Using the wrong resin mold making material.
- Failing to level or properly support the mold.
- Not considering how the casting will be demolded.
- Poor preparation, sealing or release decisions.
You don’t need an elaborate workshop or years of experience to for resin mold making.
Start with a simple project, use materials appropriate for where you’re working, check everything before you pour and learn from each mold you make.
I still occasionally make mistakes myself. The advantage of experience is that you generally recognise them faster and know what to do about them.
If you’re planning your first resin mold making project and aren’t sure whether the model, mold material or resin you’ve chosen will work together, leave a comment below.
Author: Rob
Resin Central