How to make models & molds with clay is a fantastic starting point for anyone interested in creating models or making molds, especially from resins. Thanks to its versatility and ease of use. Whether you’re sculpting intricate designs, building prototypes, or crafting molds, clay offers a balance of flexibility and simplicity.
Clays are not just about making bricks, roof tiles and pottery, that’s another world which is not the focus of this post.
Table of Contents
Clay’s adaptability makes it perfect for both model creation and transient mold making. Transient mold making involves crafting molds for repeated use before being discarded, while model-making often focuses on creating standalone prototypes or artistic pieces. Both processes are widely used in jewelry making, sculpting, and other creative fields where clay shines as an accessible and affordable material.
As an Amazon Associate, I earn from qualifying purchases.
This post contains affiliate links. If you make a purchase through these links, I may earn a commission at no extra cost to you
From simple clay rings to detailed sculptures, clay invites experimentation without fear of mistakes. If something doesn’t work, simply reshape and try again. Its forgiving nature allows crafters to explore different styles and techniques at their own pace.
Knowing how to use clay and which clay is more suitable for your project can save you time and money. Or may be you are looking to buy ready made molds, if so knowing what they are made of could affect your project if it is made of the wrong material. So being informed is a good move. Making permanent molds for jewelry can bring in another revenue stream if that is part of your plans.

Navigating the World of Clay Types and Uses for Models & Molds
Choosing the right type of clay is essential for successful projects, whether you’re crafting models or molds. Each type offers unique properties that can enhance your crafting process. Let’s explore some popular options:
A Little Early Clarification
When I was young, Plasticine was one of my go-to construction toys, along with Lego and Meccano. It’s no wonder I ended up spending my life in construction! However, it’s important to avoid confusing Plasticine with Plastiline. While Plasticine is a versatile and affordable modeling material, Plastiline is a professional-grade product designed for high-detail work. Plastiline allows for finer detail and retains that detail through multiple processes, which explains the significant price difference. That said, Plasticine remains an excellent choice for many craft projects, especially for casual or hobbyist use.
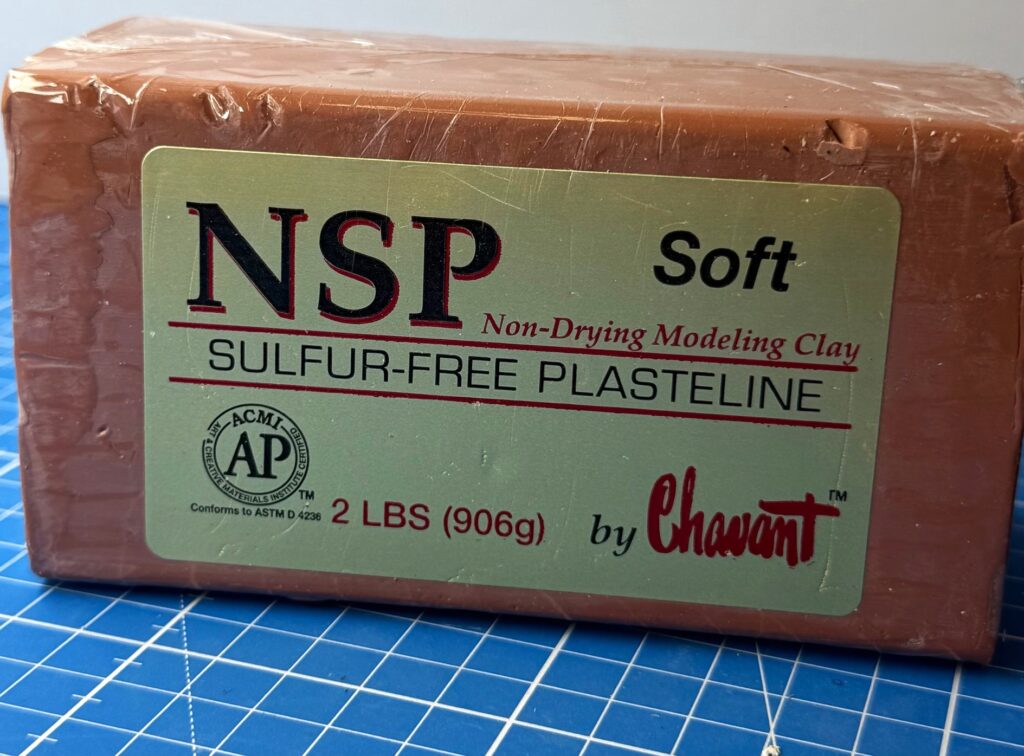
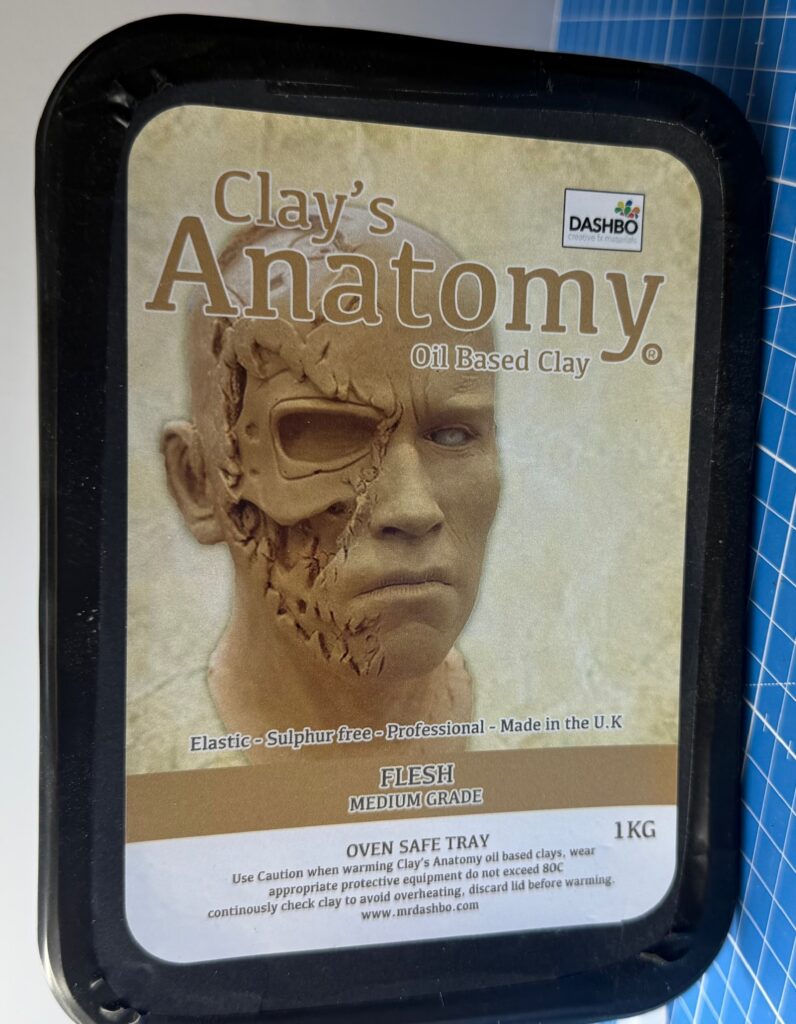
1. Oil-Based Clay (Plastilina)
Non-drying and reusable, this clay is ideal for detailed, precise designs. It’s often used to create reusable models & molds or prototypes that require ongoing refinement. Its malleability makes it a favorite for both beginner and advanced projects.
Best for: Long-term projects, detailed prototypes, and reusable designs.
Pro Tip: Warm the clay slightly before use to make it easier to shape, especially in cooler environments.
Pro Tip: Not all oil-based clays are non-toxic or sulfur-free, which is needed to avoid problems with many other mold-making materials, especially rubbers.
2. Water-Based Clay
This clay dries hard, making it suitable for creating temporary models & molds that are transient. It’s often used for sculpting larger pieces or projects where the final model will be discarded after molding.
Best for: Quick projects or temporary models & molds for low-temperature casting materials like plaster.
Pro Tip: Cover partially finished pieces with damp cloths to prevent premature drying and cracking.
3. Polymer Clay
Bakeable in a conventional oven and durable, polymer clay is perfect for creating detailed models that will serve as master designs for mold making. It can also be used for standalone artistic creations.
Best for: Jewelry prototypes, small detailed designs, and permanent master models.
Pro Tip: After baking polymer clay, sand the cured surface lightly using fine-grit sandpaper to remove imperfections and achieve an ultra-smooth finish, perfect for creating detailed molds.
Example Project: Create a jewelry prototype using polymer clay. Shape a pendant with intricate details, bake it to harden, and use it as a master model for crafting silicone molds.

Harmonizing Clays with Mold Rubbers
Pairing the right clay with suitable mold rubbers ensures that your model translates accurately into a final mold. Here’s how to align materials effectively:
- Silicone Rubber:
- Flexible and precise, silicone rubber is excellent for capturing fine details in models. However, it is essential to use sulfur-free clay, such as polymer clay or specially formulated oil-based clays, to prevent curing inhibition.
- Silicone rubber is widely used for creating permanent molds, particularly for jewelry or resin crafts
- Latex Rubber:
- Known for its stretchability, it works best with oil-based clays even with Sulfur and is excellent for wrapping around complex shapes.
- Polyurethane Rubber:
- Rugged and durable, it pairs well with water-based clay when sealed.
- Ideal for larger, industrial projects or molds requiring added strength.
Using Release Agents:
Release agents like petroleum jelly, wax, or specialized sprays ensure your mold separates cleanly from the clay model. Even if a combination doesn’t require a release agent, applying one can save time and prevent unexpected sticking.
Crafting Large Models & Molds with Clay and Core Materials
Larger projects require strategic use of core materials to minimize clay usage and maintain structural stability. Lightweight materials like foam and wireframes are excellent options for creating models with clay.
Step-by-Step Process:
- Prepare the Core:
- Roughen foam surfaces or twist wires to create a base that clay can grip.
- Ensure the core is stable and proportional to your intended design.
- Apply the Clay:
- Start with thin layers, pressing the clay onto the core securely.
- Build up thickness gradually, shaping as you go.
- Refine the Surface:
- Use tools like spatulas or smoothers to create seamless transitions.
- Add texture or details as needed, depending on your mold or model’s purpose.
Pro Tip: Incorporate removable supports or dowels for added stability during transport or molding.
Example Project: Craft a large decorative bowl by layering clay over a wireframe core. Smooth the surface for clean lines, and use silicone rubber to create a durable mold for casting plaster or resin.
Types of Molds & Models You Can Craft with Clay
Clay’s versatility makes it suitable for creating both models and molds, each serving different purposes:
Temporary Models & Molds:
- Great for single-use or limited runs.
- Often paired with plaster or low-temperature casting materials.
- Ideal for prototyping or testing new designs.
Permanent Models & Molds:
- Durable designs created with high-quality materials like polymer clay or silicone rubber.
- Perfect for jewelry, decorative items, or master prototypes that require longevity.
Standalone Clay Models:
- Some projects may focus solely on creating artistic models, such as sculptures or figurines, without the intention of mold making.
Preparing Clay Models for Molding
Creating a clay model ready for molding involves careful preparation:
- Smooth the Surface:
- Use tools like scrapers or brushes to eliminate imperfections.
- For fine details, employ toothpicks, sculpting tools, or even pin-like instruments.
- Address Undercuts:
- Identify and adjust any areas that could trap the mold material.
- Plan for parting lines or flexible mold materials to accommodate complex shapes.
- Stabilize the Model:
- Secure the clay model on a steady base.
- For taller pieces, add temporary supports to prevent tipping.
Attention to these steps ensures crisp, accurate molds that highlight every nuance of your design.
Tackling Common Challenges
Clay modeling and mold making can present challenges, but preparation and troubleshooting will keep you on track:
- Soft or Sticky Clay:
Chill oil-based clays briefly for firmer consistency. - Cracking in Water-Based Clay:
Keep the model covered with damp cloths during breaks to prevent uneven drying. - Air Bubbles in Molds:
Tap or vibrate the mold material gently to release trapped air. - Sticking Issues:
Apply an even layer of release agent to prevent damage during demolding.
Exploring Applications of Clay for Models & Molds
Clay mold making and model creation open doors to countless creative projects:
- Jewelry Making: Craft intricate designs for resin or metal clay pieces.
- Sculpting and Prototyping: Design artistic sculptures or product prototypes with precision.
- Home Décor: Mold custom ornaments, candles, soap or decorative items for personalized designs.
- Cast Stone: Model finishing, or minor alterations to prior models.
Niche Uses:
- Educational tools: Create replicas of fossils or artifacts.
- Theater props: Craft lightweight, realistic props for performances.
FAQ: Beginner Questions About Clay Models & Molds When Making
- How should I store clay models & molds?
- Oil-based clay can be stored indefinitely; water-based clay should be kept in airtight containers or wrapped in damp cloths.
- What’s the best way to clean molds after use?
- Silicone molds can be washed with mild soap and water, while latex molds may need a special cleaner to maintain elasticity.
- Can I reuse molds?
- Permanent molds like silicone can be reused multiple times if cared for properly.
Celebrating Clay: Your Gateway to Models & Molds
Clay’s affordability, flexibility, and ease of use make it the perfect entry point for aspiring model makers and mold creators. Its forgiving nature encourages experimentation, allowing you to learn and grow with every project.
Start small, test techniques, and build confidence as you progress to more ambitious creations. Whether you’re crafting jewelry, sculptures, or home décor, clay offers endless opportunities to bring your ideas to life.
What will you create today?
Contact Us
We hope you find the information about models & molds with clay useful, but if you have any questions or need help, send us a message. You do have to sign in and confirm these days to comply with government rules. Sorry for the inconvenience.
Author Rob
Ps. This is the company that taught me how to build this site and 3 others in 6 months, they keep their promises.
